Posemaking: Making a simple pose
With part 1 of the guide series behind us, we’re now ready to start making a simple pose. If you skipped the previous part, let me give you a quick run down of what you missed. We learned some basics of the tool including what bones are and how to move them with the rotate Gizmo and XYZ sliders. We also set ourselves up to create a pose by dressing down our character for a clear view and prepared a reference to work with.
Want to go back to part 1? Alright, all good! Or maybe you want to skip ahead to part 3? I got you!
Let’s make a pose
We’re going to start off with an easy one. The reference on the left here shouldn’t pose too much of a challenge. Giving a quick look over, we can see the following:
- She is standing at a bit of an angle
- Her bottom is pushed backward
- Her chest is pushed forward
- One arm is raised towards the face, one arm is down and titled backward
- The legs are standing in a bit of an X position
Rotate your character
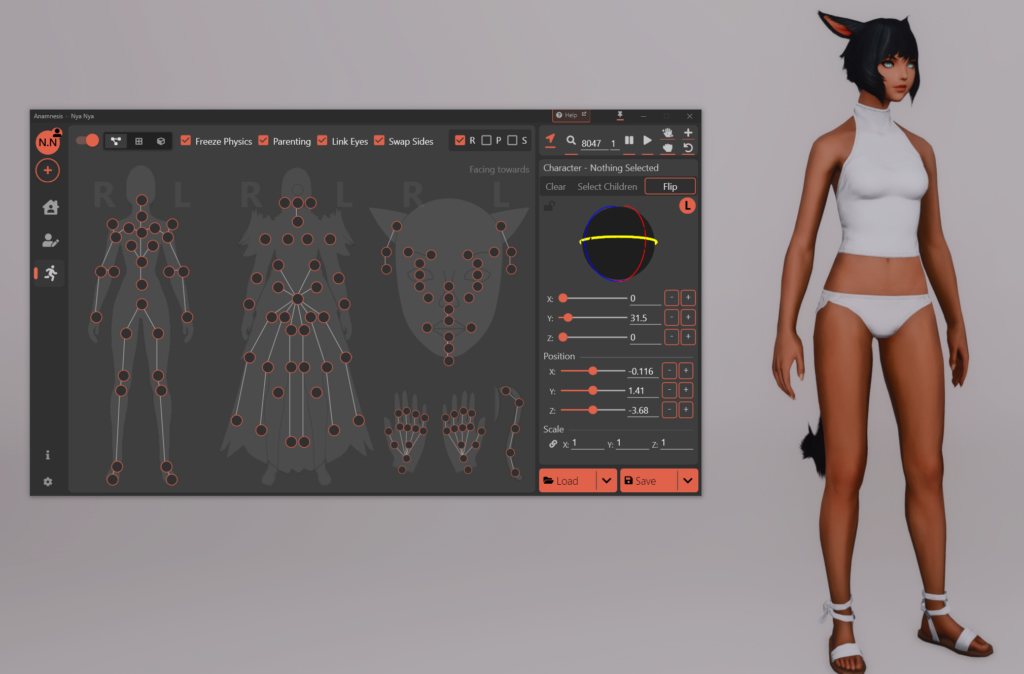
The first step is simple enough (to the point that me bringing it up here feels a little over the top). We’re going to fix the angle our character is standing at. With no bones selected, head over to the movement tools. For this pose we want to rotate our character slightly towards the right (our PoV).
Using the Gizmo I push the green line (Y) towards the right. You can also use the Y slider.
Bulk movements
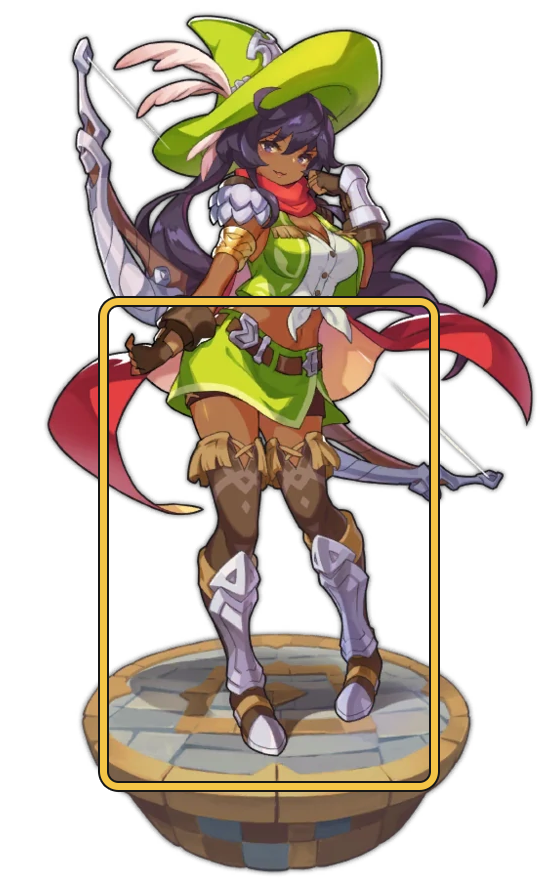
I tend to start at the waist when there’s a tilt to the character’s behind. Tilting the waist until it matches how far it’s pushed out on my reference, I then move over to the legs and reposition them so that they’re touching the floor. At the same time, I try to emulate what my reference looks like. I focus on the general idea rather than making sure this part of the pose looks perfect. Fine tuning is something I do once I get the bulk of the movements out of the way. Lay down a foundation and then tweak until it’s perfect.
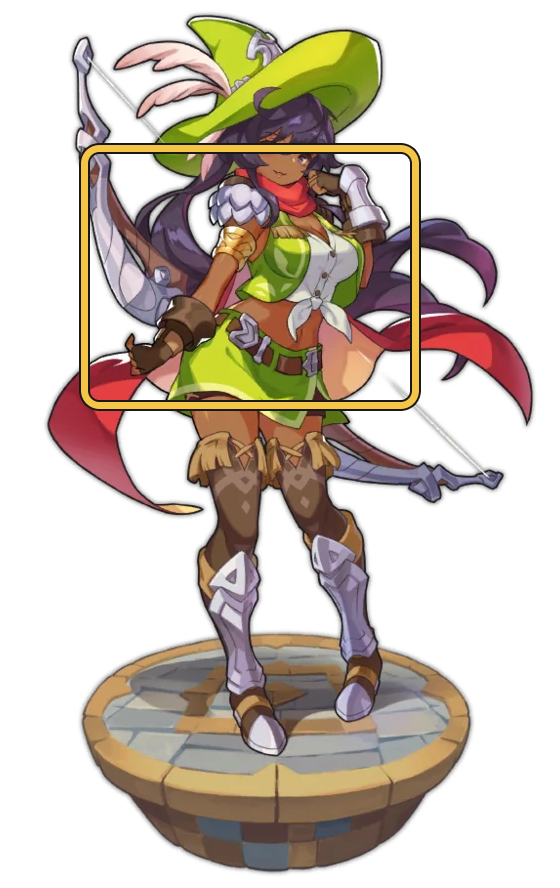
For the arms it’s the same concept. I adjust the torso and then focus on the arms. Just like with the waist, the way I position the torso will affect where the arms end up. Trying to position the arms before positioning the torso will be a look of extra work.You may notice as I’m editing the left arm (our PoV) that I’m making gradual changes to several bones. To avoid accidentally breaking an elbow, I tend to make adjustments in smaller increments rather than go all out in one go. This is something we’ll explore more in depth in part 3.
Adding the details

With the larger adjustments out of the way I now begin to add in all the details. I start at the top and slowly make my way down. I rotate the head into its right spot and add an expression to the face. I adjust the fingers to be somewhat like the reference but not entirely. I always find that fingers are harder to replicate than anything else, so I tend to apply what I see in spirit rather than really try to copy the reference.
I make my way down the character and choose a leg that I want to be my reference point for the lowest point of the character. To explain that a bit more clearly, I want one of my character’s feet or rather the sole of her feet to be the lowest point of the pose. This is the point that connects with the ground and the other leg I will adjust accordingly.
Rotate the camera, quality check, fix
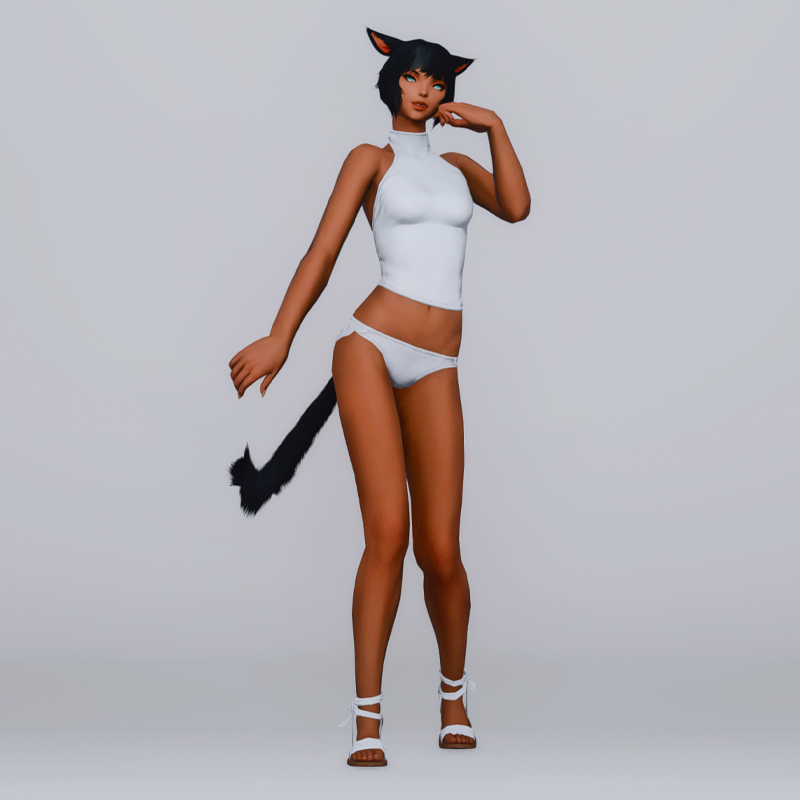
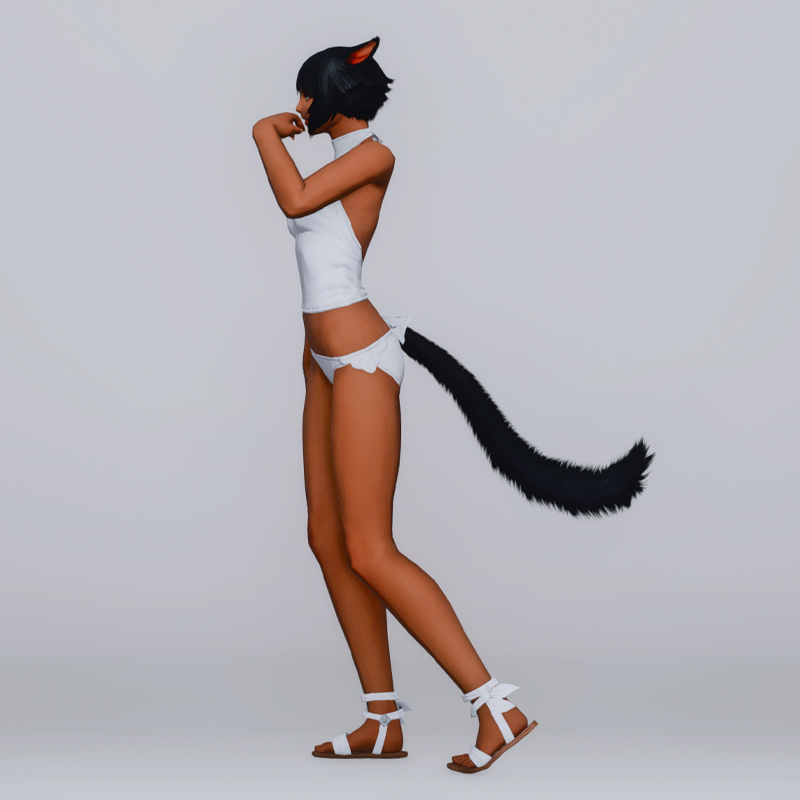
So far we’ve got a pretty solid pose. At least, from the front. As you’ve been able to see in the videos is that I’ll be rotating around my character a whole bunch to make sure that what I’m doing looks good at all angles. Currently there’s a few flaws to the pose that I would like to work on.
Although I replicated the position of the legs pretty decently based on the reference, I don’t like how this translates into the game. When looking at my character from the side it feels like she is slouching.
Other than the legs, I was having some issues replicating the lowered arm without breaking it. That said, I don’t mind how it looks at the moment. The only exception here is that I feel like the wrist looks a bit awkward. I’m also making a mental note that the fingers need some adjusting. It currently looks like she should be holding something which isn’t my intent.
With these notes in mind I’m going to make adjustments.
At this stage I fix any of the aforementioned issues. I no longer have the reference on this side at this point. If I were having issues keeping everything proportionally sound then I’d probably reach for it again. However at this point I feel like using the reference would restrict me more than it would help me.

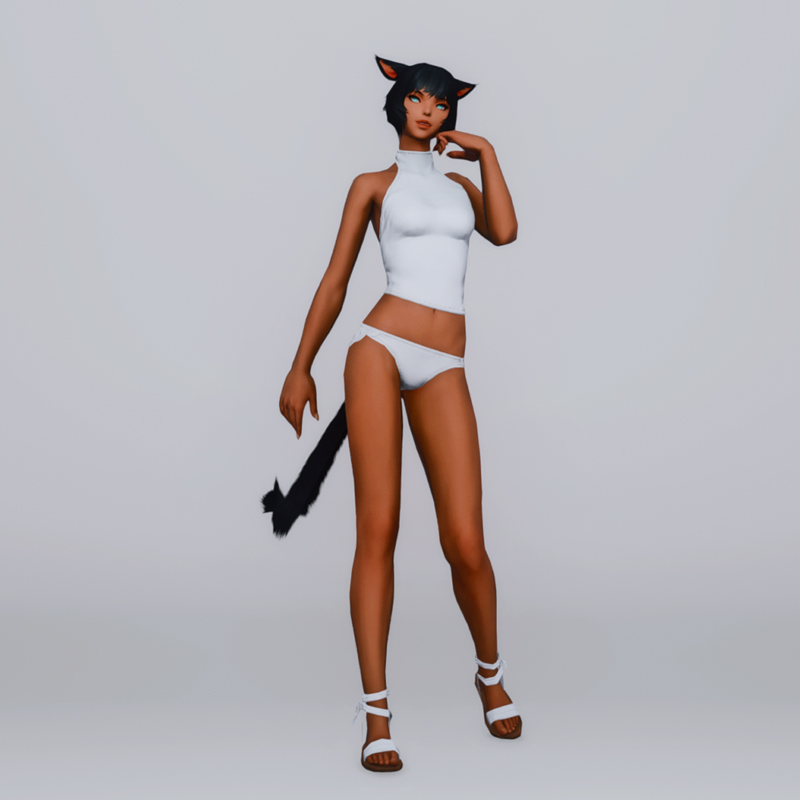
Finally, all this has lead us to our first finished pose. Although the difference isn’t major, the fixes I applied made everything look less cramped up. The pose is now more in line with something we’d be able to emulate ourselves, rather than an exaggerated drawing. That said, don’t let me stop you from living your best life.
Continue reading in part 3
We’ve now made a simple pose! It’s time for something more challenging. You can continue reading in part 3. Alternatively if you have any questions about part 1 or 2 you can join us in our Discord. And of course, don’t forget to check out the official Anamnesis Wiki.
