Setting up a simple Gpose studio
Setting up a studio does not have to be complicated. In this guide I’ll cover a very basic studio set-up that I use for pose preview screenshots.
The main perk of this studio is that it allows you near complete freedom with your lighting, as it doesn’t depend on furniture lamps to light the scene. Instead, it uses solely the main chandelier and the Gpose lighting options.
If you are looking for more in depth and interesting lighting set-ups, I highly recommend having a look at the following Twitter thread.
What you’ll need
Location
As any studio you’ll need a space. The ideal room for this will be a small house, apartment or FC room. I’d say an apartment will be your best choice, as there’s no risk of losing it due to not being subscribed or when you leave an FC.
Furniture
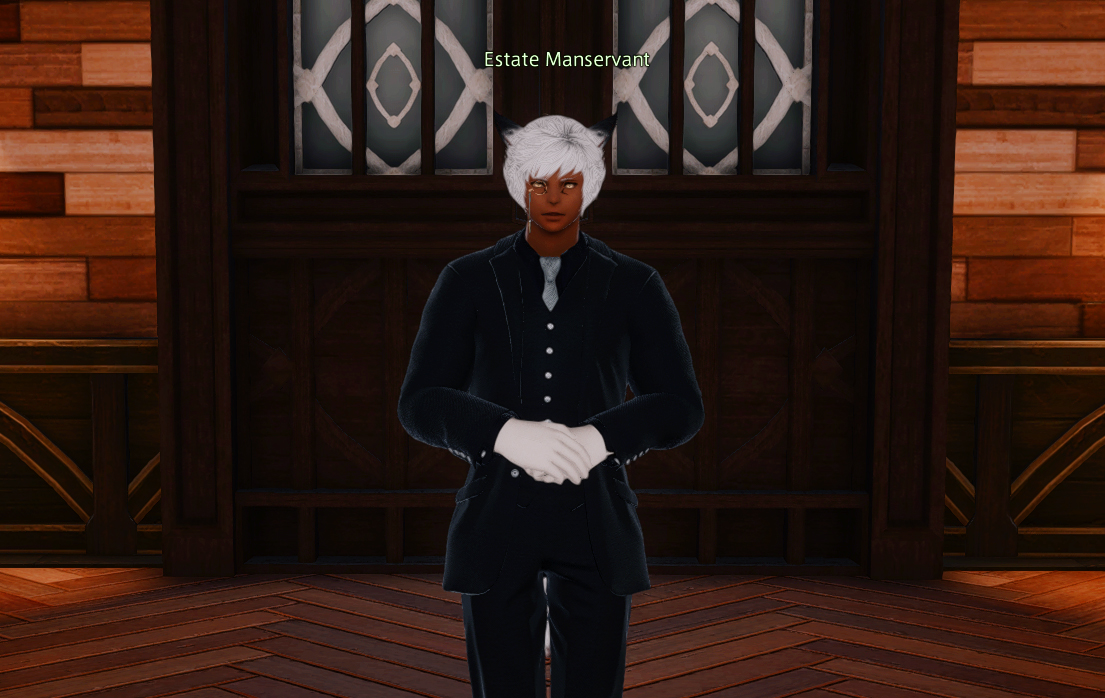
We don’t need much for this build, and all items are easy to obtain. All items can be bought from the Estate Manservant or any of the other housing merchants around the housing wards.
You’ll want to purchase 3 white screens. You can dye these any colour you want. I’ll dye mine yellow. You’ll also want to buy a Riviera chandelier. You can go with any other chandelier you want depending on the temperature you want for the light. I personally believe the Riviera chandelier offers the least yellow lighting out of all the NPC purchasable chandeliers.
For the white screens, you will go into the “Purchase furnishings (Partitions, Wall Decorations)” section. The white screen will be 6 items down from the top. For the chandelier, you will go into the “Purchase furnishings (Interior)” section. The chandelier will be 7 items up from the bottom.
Putting it together
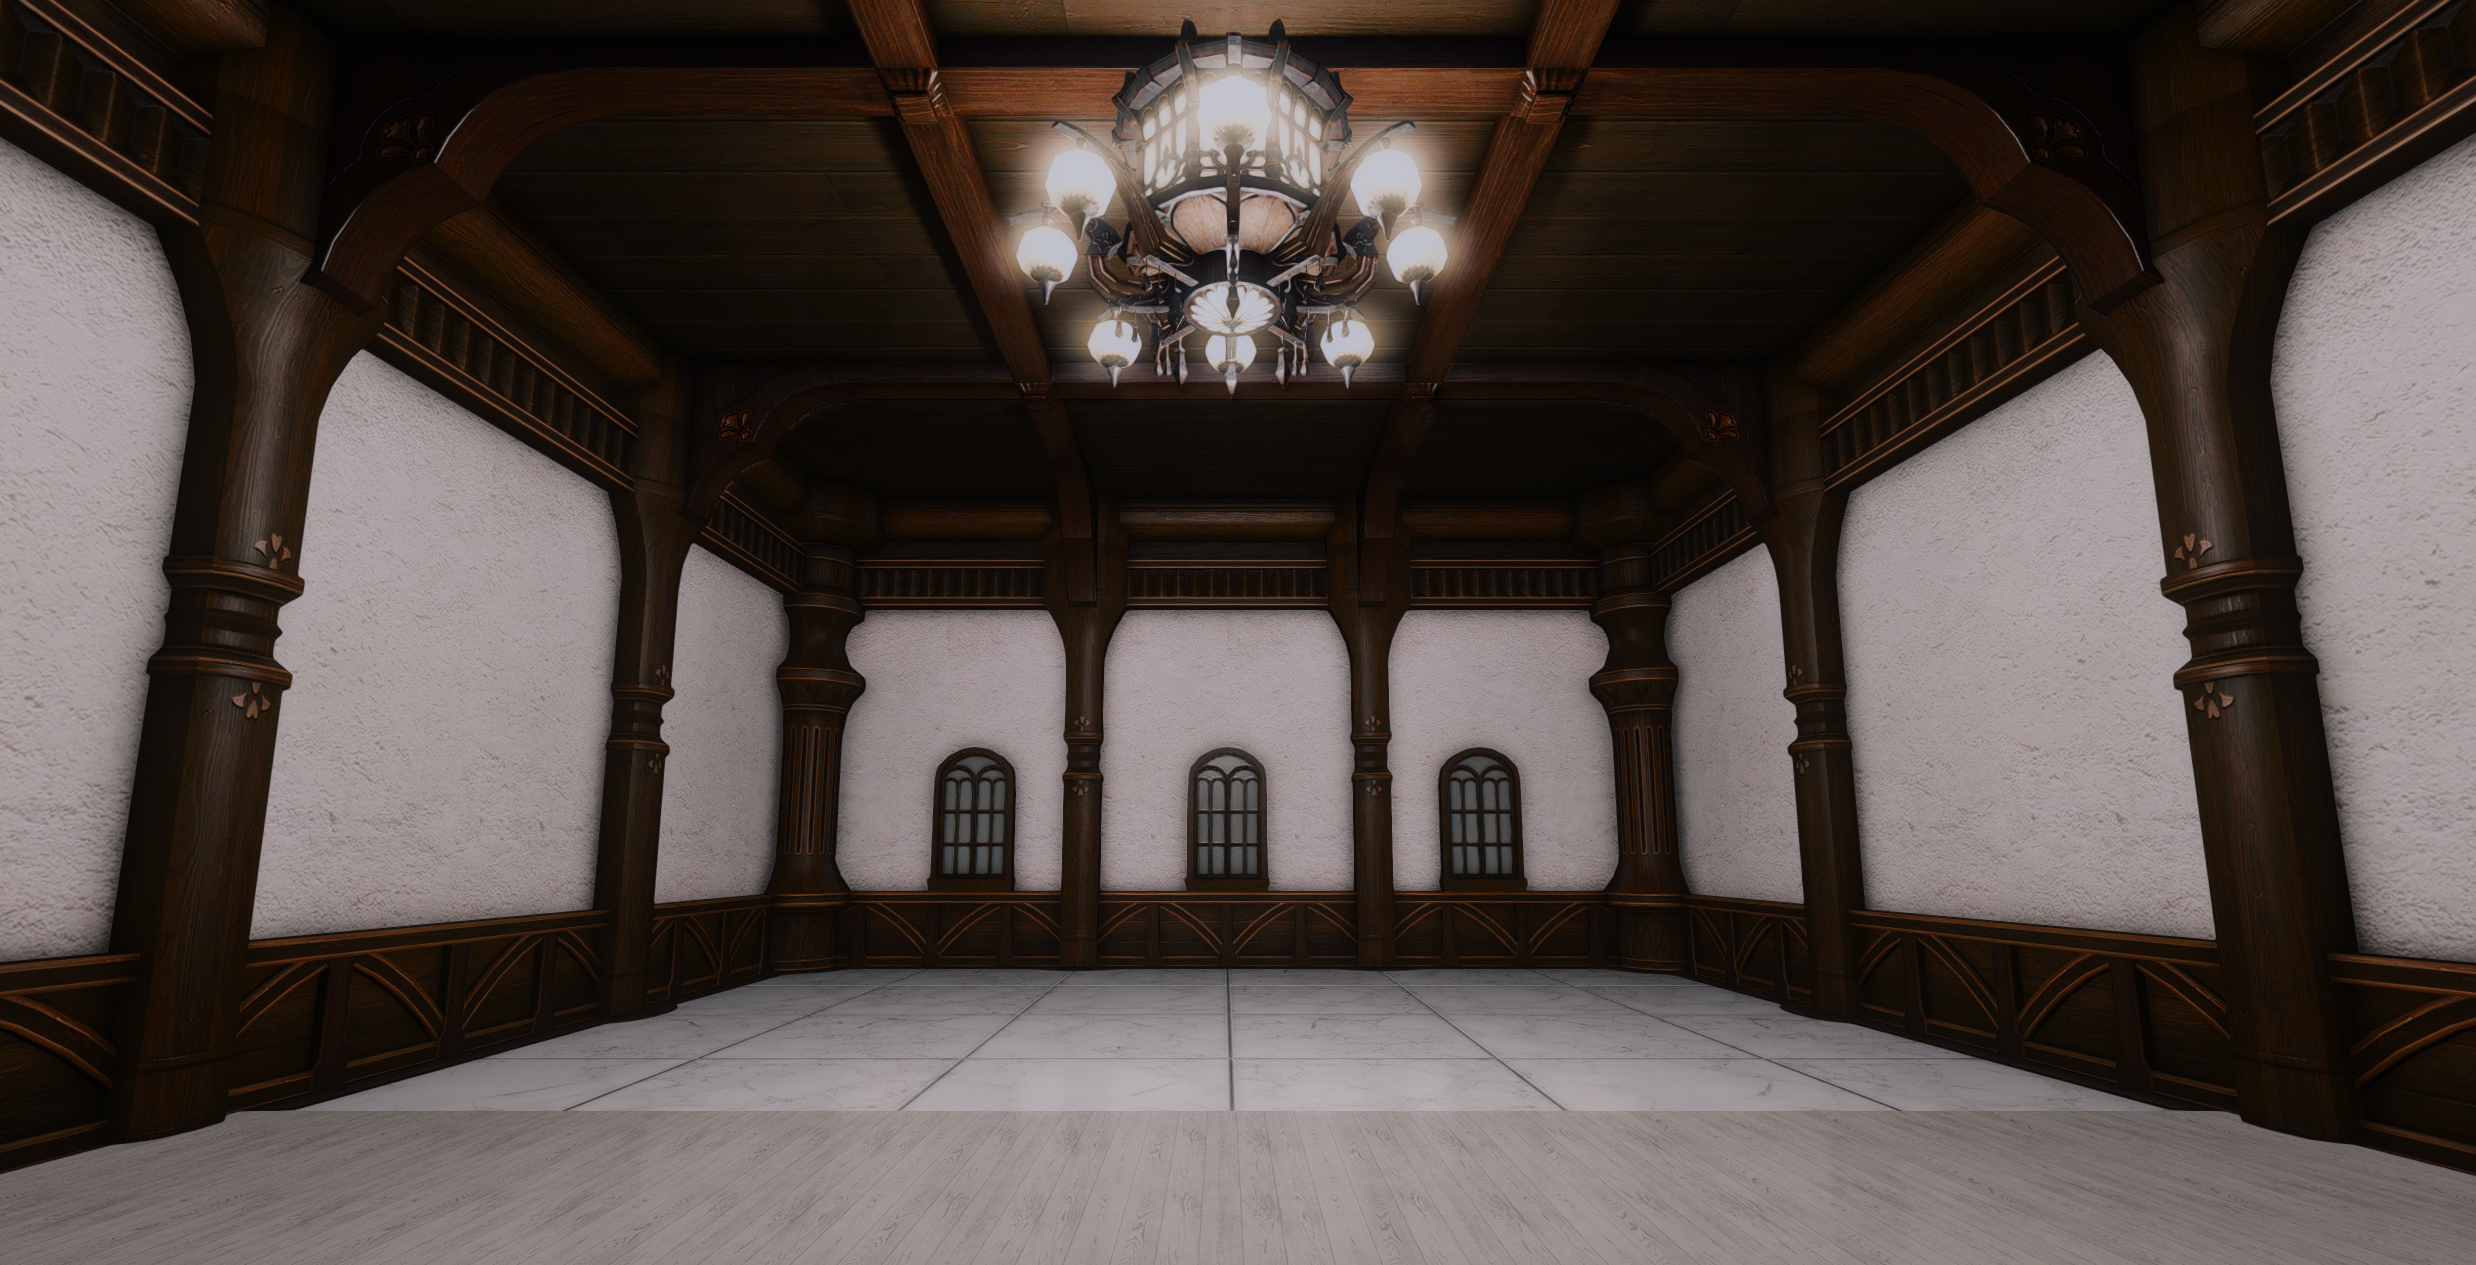
Once you’ve all all the listed furniture, you can go ahead and enter the space you’re going to be using.
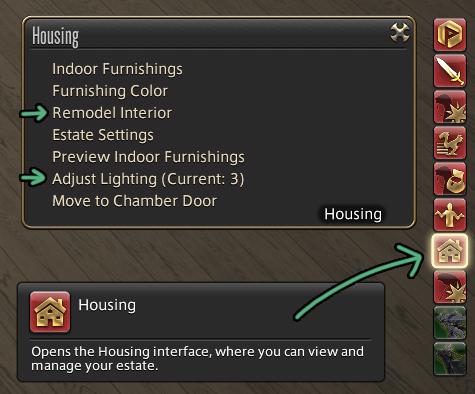
Starting with the chandelier, go to the housing menu (social > housing).
Click remodel interior and replace the chandelier that’s currently being used in the room.
Back in the housing menu, use the adjust lighting option to change the intensity/brightness of the chandelier. I personally believe 3 is a good starting point for screenshots. You can always adjust this later if you want it darker or lighter.
It’s good to keep in mind that it’s easier to brighten an image in post editing than it is to darken one when setting up your lights.
Now once again in the housing menu, we’re going to click “indoor furnishings”. We’re going to place the white screens in our studio space.
Line up the three screens. Make sure to enable grid snap for a seamless end result. The only thing to keep in mind when placing the screens is how far away they are from the ceiling light. I tend to use the beams in the walls as a general guideline for placement.
With that, you have a basic functioning Gpose studio.
Lighting in Gpose
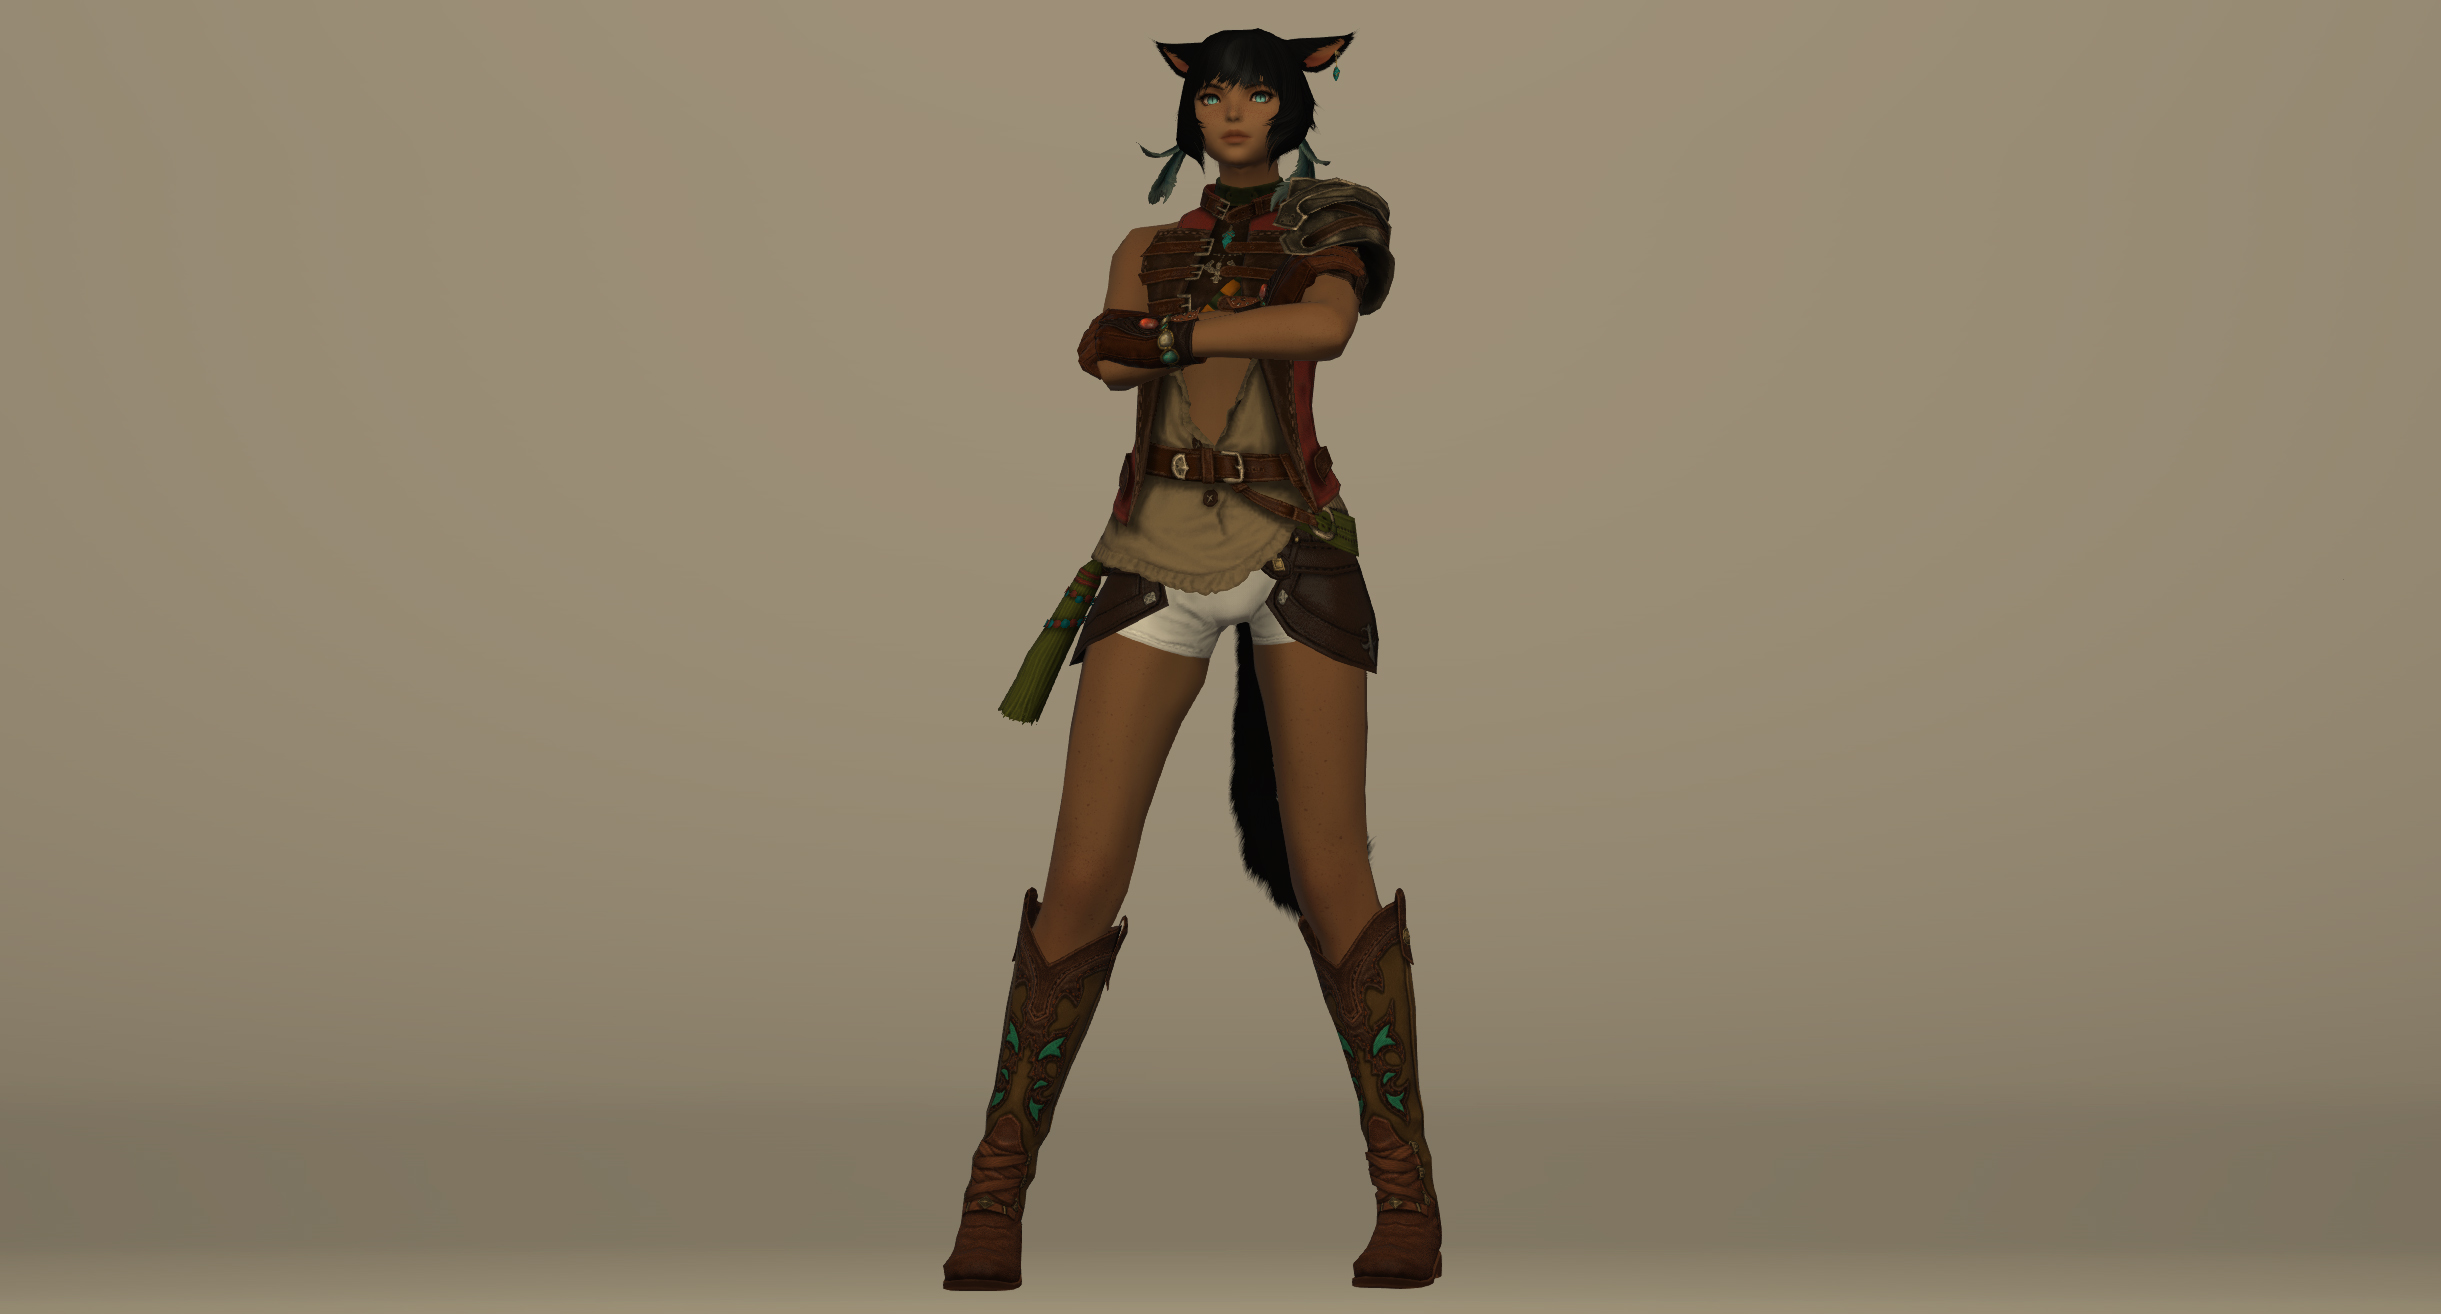
At this point you might be a little disappointed by the studio. The character isn’t very well lit and the tone is still a bit on the yellow side. The goal of this studio was always to utilize Gpose to finish the job (or a reshader preset). So let’s make some lighting magic happen!
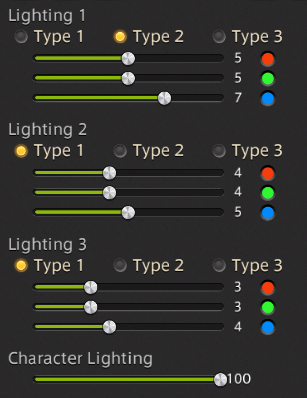
I’ll go over the lighting settings I went with, but I recommend playing around with it yourself as well.
I’ll crank up the character lighting. Generally speaking I won’t set it higher than somewhere in the 20-40 range, but in this case I’m cranking it all the way up. I want more exposure on the character itself as a starting point. I can always adjust it later.
I make use of a 3-point lighting set-up. The first light, I place around the same area as the chandelier. I set this one to type 2 for a bit more intensity. This will brighten the scene as a whole rather than just the character. Lights 2 and 3 are located on the left and right of the character, angling down from above.
The results
Reshaders & post-editing
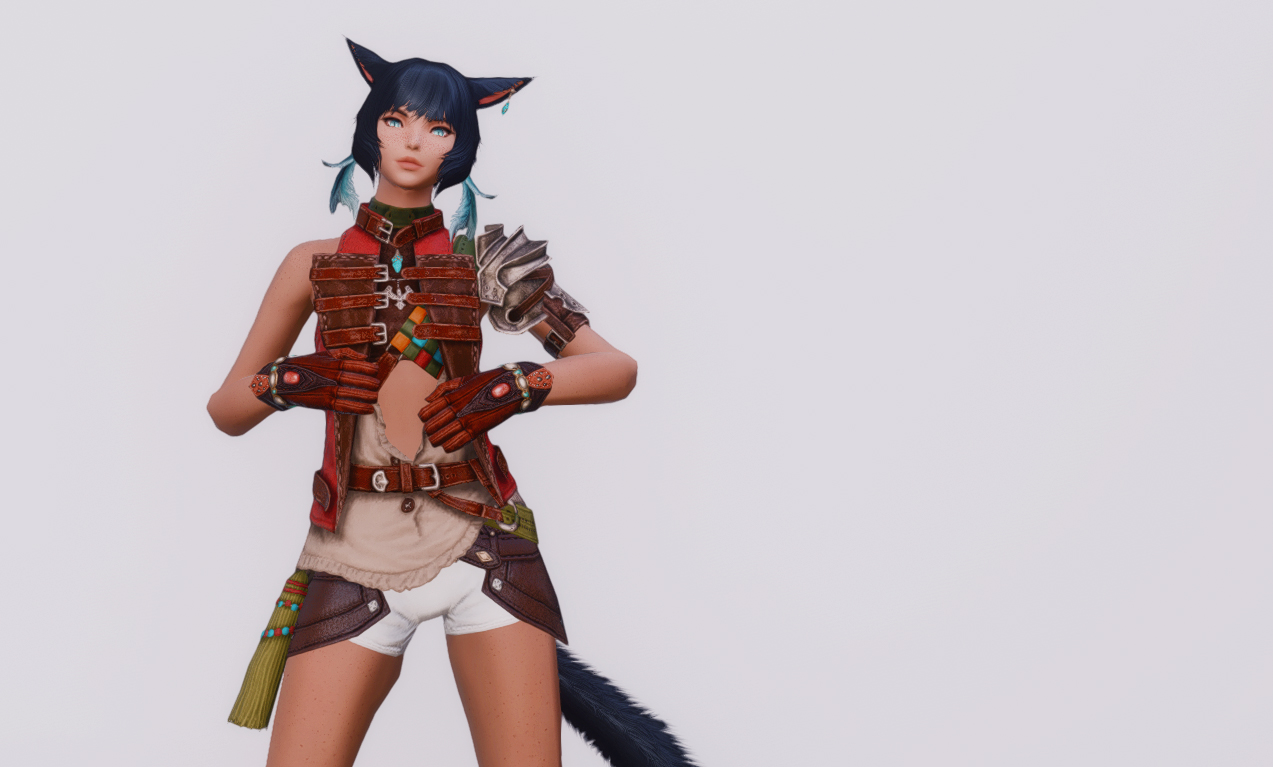
Personally I tend to opt for one of my reshader presets to brighten up the scene and reduce the yellow. It’s available for download here. The image shown on the left here is what the studio looks like without any lighting or post-editing, utilizing the preset. As you can see, it’s not too different from applying lighting with Gpose.
On the right, you can see that same screenshot but with some added white balancing in Photoshop.
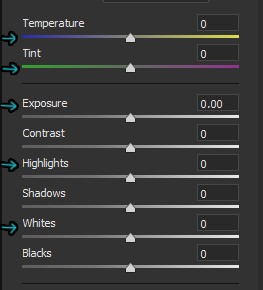
There’s many options when it comes to white balancing in editing software. I personally like to use the camera raw filter because I’m used to it as a photographer. However you can use adjustment layers just fine and achieve similar results.
A good technique for using levels can be found here. Alternatively, just give the sliders a whirl until you like what you see. I usually tweak the temperature, tint, exposure, highlights and whites to brighten and white balance all in one go.
That’s all!
If you find yourself left with questions, you can join us in our Discord where we have a wonderful community ready to help!


